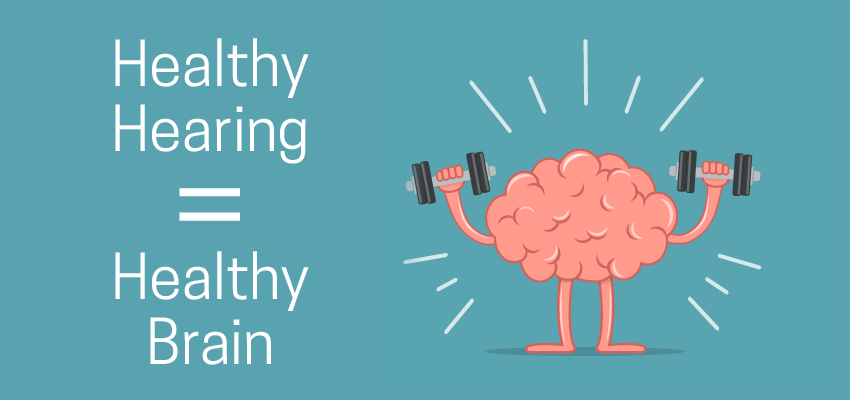
Checking out your hearing If you are worried you might be losing your hearing, and wish to see what you could do about it, then, that you have to ensure that your hearing is totally tested. You have got one of two options if you are beginning to lose your hearing. There are a number of explanations as to why as we get older we start to lose our hearing. If unsure, you may first check your hearing with the support of our free online hearing test. Hearing is among the traditional five senses. The earlier your hearing improve, the more quickly you reduce the risks and improve your quality of life connected with untreated hearing loss.
Hearing loss is part of aging and it’s a challenge that the majority of people experience as they grow old. Hearing loss is a consequence of exposure usually with time. It is normal for individuals with a hearing loss to lose hearing as time passes, it is referred to as a progressive hearing loss.
 Talk to your local medical care provider or a local hearing aids clinic if you see symptoms of hearing loss. Another potential source of hearing loss is one which can impact all ages. There is not one cause of age-related hearing loss, but excessive sound exposure was identified as a risk element that is main.
A large part of hearing loss is dependent on improved circulation. It can be a problem among seniors when they end up as being aloof seen. Age-related hearing loss may be tough to self-identify. It’s a public health issue. The loss is distinguished by difficulty having a conversation with friends and family members. Though you may think that you understand what hearing loss means people feel that it means. Though there’s nothing we can do in order to stop hearing loss, it’s never too late to take precautions to protect ourselves from loud racket. The absolute most important method to stop age-related hearing loss is to guard your hearing.


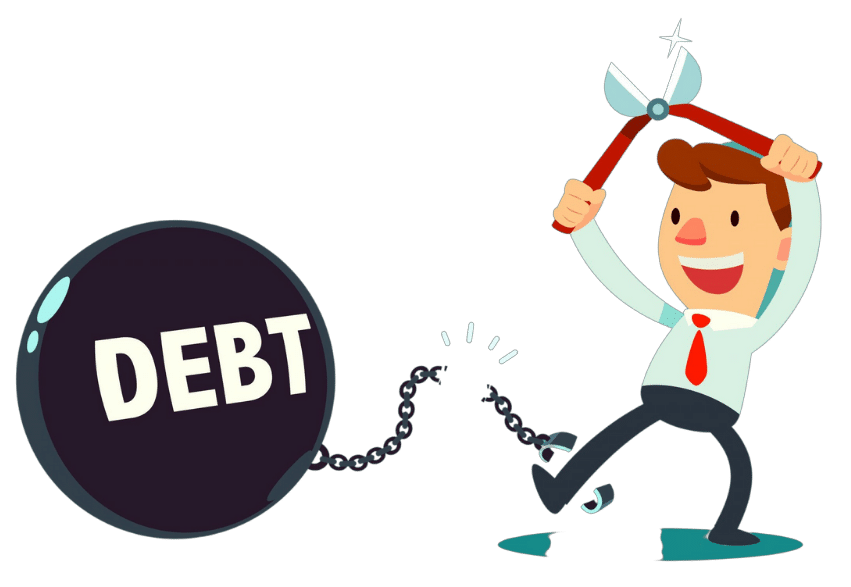
 Even though credit cards are handy for controlling expenses and shopping, they can also present a major financial headache in case not utilized well. Credit card debt can easily get out of control for a lot of, causing high-interest payments and extra stress. Nevertheless, there are


 Here if you want to calculate your debt overloading criteria, you have to add the money you spend in your regular monthly spending like a credit card on bad debts. Here divide this money by your overall income value and then multiply with the resultant value by 100. So you will get the percentage which is known as debt to income ratio.